In this step-by-step guide, we’ll configure an Ubuntu 22.04 server to operate a NestJS API server along with a MySQL database, utilizing both Docker and Docker Compose.
Step 1: Picking Your Server
With plenty of options available, your selection essentially boils down to budget constraints and geographical location. You can decide on any provider that suits your needs. Here are a few to consider:
- Amazon Web Services (AWS) — Boasts several data centers. It’s expedient, safe, and charges fees for a static IPv4.
- Google Cloud Platform (GCP) — Offers services akin to AWS. Pricing for IPv4 is yet to be explored.
- Digital Ocean — More affordable as compared to AWS and GCP.
- Local providers — Dependable for specific geographical requirements.
Being in Vietnam, Sometimes lack local data centers for AWS, GCP, or Digital Ocean, which is why the solid choice may often be a local provider, especially given that most of our user base is in Vietnam.
After you’ve settled on your server, let’s set it up.
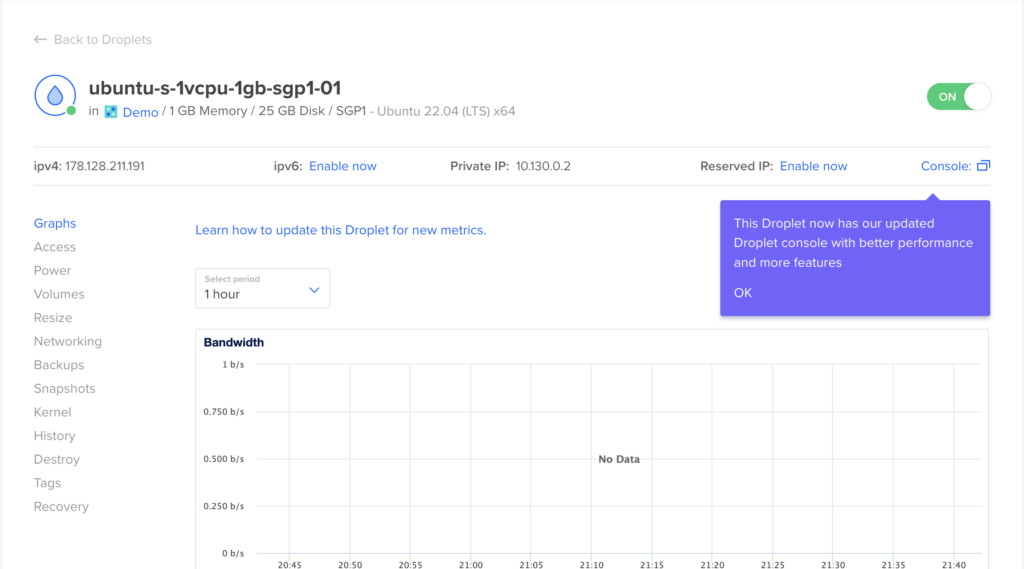
In this tutorial, I will use a server from Digital Ocean.
Easy register here


Step 2: Install docker and docker-compose
First, update packages, add the GPG key, and add the Docker repository to APT sources
sudo apt update
sudo apt install apt-transport-https ca-certificates curl software-properties-common
curl -fsSL https://download.docker.com/linux/ubuntu/gpg | sudo apt-key add -
sudo add-apt-repository "deb [arch=amd64] https://download.docker.com/linux/ubuntu focal stable"
Install docker-ce
sudo apt-get install docker-ceCheck if docker is started and running
sudo systemctl status dockerThe output should be:
docker.service - Docker Application Container Engine
     Loaded: loaded (/lib/systemd/system/docker.service; enabled; vendor preset: enabled)
     Active: active (running) since Mon 2024-04-01 14:56:46 UTC; 19s ago
TriggeredBy: ● docker.socket
       Docs: https://docs.docker.com
   Main PID: 10839 (dockerd)
      Tasks: 7
     Memory: 58.3M
        CPU: 315ms
     CGroup: /system.slice/docker.service
             └─10839 /usr/bin/dockerd -H fd:// --containerd=/run/containerd/containerd.sock
Docker compose v1 is no longer updated and included with a newer version of docker, you can still use it but recommended to upgrade to v2. You can notice different from v2 is docker-compose with turn into `docker compose`
To install Docker Compose v2
sudo apt-get install docker-compose-pluginCheck if docker compose is installed
docker composeStep 3: Prepare the docker image
Check out this sample repo here to get started
Once you cloned the repo go to the root folder. You need to run this command to build the image
docker build -t travisnguyen20/sample-nestjs-with-docker:latest .This command will build the docker image and tag it with travisnguyen20/nestjs-backend:latest. Replace travisnguyen20 with your dockerhub username
If your machine run ARM chip but you build for server run AMD chip you need to add this option --platform linux/amd64
docker build --platform linux/amd64 -t travisnguyen20/sample-nestjs-with-docker:latest .You will need to update this image to a hub that you can access later on the server
First login to docker from your command line
docker loginPush your image to docker hub
docker push travisnguyen20/sample-nestjs-with-docker:latestStep 4: Prepare docker-compose.yml
SSH to your server
Create a home dir folder. you can choose any name you want, here I created a folder name home
cd ~
mkdir home
cd home
Create mysql/conf.d to store custom MySQL configs
Create nginx/custom.cnf to store custom nginx configs
mkdir -p mysql/conf.d
mkdir nginx
cd nginx
touch custom.conf
Create a docker-compose file at your home folder as follows:
services:
  nginx-proxy:
    image: nginxproxy/nginx-proxy
    container_name: nginx-proxy
    restart: on-failure:10
    depends_on:
      nestjs:
          condition: service_started
    ports:
      - "80:80"
      - "443:443"
    volumes:
      - /var/run/docker.sock:/tmp/docker.sock:ro
      - vhost:/etc/nginx/vhost.d
      - html:/usr/share/nginx/html
      - ./nginx/custom.conf:/etc/nginx/conf.d/custom.conf:ro
  nestjs:
    image: travisnguyen20/sample-nestjs-with-docker:latest
    container_name: nestjs
    restart: on-failure:10
    ports:
      - "3000:3000"
    depends_on:
      mysql:
        condition: service_started
    env_file:
      - .env

  mysql:
    image: mysql:8
    container_name: mysql
    restart: always
    ports:
      - "3306:3306"
    env_file:
      - .env.mysql
    volumes:
      - ./mysql/conf.d:/etc/mysql/conf.d
      - mysql-data:/var/lib/mysql

volumes:
  vhost:
  html:
  mysql-data:
Prepare 2 environment files for nestjs and mysql services
.env file – VIRTUAL_HOST and VIRTUAL_PORT is important to proxy requests from nginx server
VIRTUAL_HOST=api.yourserver.com
VIRTUAL_PORT=3000

DATABASE_URL=yoursecret
OTHER_VAR=secret
.env.mysql – Change password to secure your database
MYSQL_ROOT_PASSWORD=root
MYSQL_DATABASE=maindb
In the above file, I used the service name `nginx-proxy` you can find it here
By defining VIRTUAL_HOST and VIRTUAL_PORT in the service container, all requests to your nestjs server will be handled by the nginx server and proxy to nestjs service automatically.
Step 5: Deploy your servers
Before deploy, you will need to map your domain to server IP.
api.yourserver.com => A Record to Server IP
To deploy services:
docker compose up -dOutput:
[+] Running 34/34
✔ nginx-proxy 13 layers [⣿⣿⣿⣿⣿⣿⣿⣿⣿⣿⣿⣿⣿] 0B/0B Pulled 31.1s
✔ 8a1e25ce7c4f Pull complete 9.6s
✔ e78b137be355 Pull complete 10.5s
✔ 39fc875bd2b2 Pull complete 10.3s
✔ 035788421403 Pull complete 10.5s
✔ 87c3fb37cbf2 Pull complete 11.2s
✔ c5cdd1ce752d Pull complete 11.4s
✔ 33952c599532 Pull complete 11.9s
✔ 1391f0db430d Pull complete 12.0s
✔ a54628ab3508 Pull complete 12.2s
✔ 1b92ee867954 Pull complete 12.8s
✔ 6fb2b658cb39 Pull complete 12.8s
✔ f1b62f7c120e Pull complete 13.0s
✔ 4f4fb700ef54 Pull complete 13.6s
✔ nestjs 8 layers [⣿⣿⣿⣿⣿⣿⣿⣿] 0B/0B Pulled 27.5s
✔ 4abcf2066143 Pull complete 1.0s
✔ ff171c16ee4e Pull complete 1.3s
✔ 7c215e7ef394 Pull complete 1.1s
✔ 3f72a7284617 Pull complete 2.0s
✔ a4560a04229a Pull complete 6.0s
✔ 0f532039c955 Pull complete 4.1s
✔ 5a1de237eb7f Pull complete 3.4s
✔ 2d692b0bf8c7 Pull complete 5.7s
✔ mysql 10 layers [⣿⣿⣿⣿⣿⣿⣿⣿⣿⣿] 0B/0B Pulled 45.1s
✔ 9a5c778f631f Pull complete 5.3s
✔ ccc451c3fb55 Pull complete 5.8s
✔ db534de989c8 Pull complete 6.2s
✔ c1a1ab6fb3ea Pull complete 6.4s
✔ d18a374d12e6 Pull complete 6.7s
✔ 2d9f4c3e8c03 Pull complete 7.1s
✔ 4c79cbebfe62 Pull complete 8.1s
✔ b3549fdd6799 Pull complete 7.9s
✔ c08846a4ab7a Pull complete 9.2s
✔ 084bd453daf0 Pull complete 8.8s
[+] Running 3/7
⠸ Network home_default Created 3.3s
⠙ Volume "home_html" Created 3.1s
⠙ Volume "home_mysql-data" Created 3.1s
⠙ Volume "home_vhost" Created 3.1s
✔ Container mysql Started 1.0s
✔ Container nestjs Started 1.5s
✔ Container nginx-proxy Started Check if all services are up and running
docker psThe result should be:
CONTAINER ID   IMAGE                                  COMMAND                  CREATED         STATUS              PORTS                                                                      NAMES
c4d86dbee114   nginxproxy/nginx-proxy                 "/app/docker-entrypo…"   2 minutes ago   Up 2 minutes        0.0.0.0:80->80/tcp, :::80->80/tcp, 0.0.0.0:443->443/tcp, :::443->443/tcp   nginx-proxy
99bd830c66d7   travisnguyen20/nestjs-backend:latest   "docker-entrypoint.s…"   2 minutes ago   Up About a minute   0.0.0.0:3000->3000/tcp, :::3000->3000/tcp                                  nestjs
7e314c84771c   mysql:8                                "docker-entrypoint.s…"   2 minutes ago   Up 2 minutes        0.0.0.0:3306->3306/tcp, :::3306->3306/tcp, 33060/tcp                       mysql
Check if you can access your server at http://api.yourserver.com/
Screenshot here

Awesome! Now you have everything you need to run your API server
The next step is to secure your server with https
Reference:
https://www.tomray.dev/nestjs-docker-production
https://www.digitalocean.com/community/tutorials/how-to-install-and-use-docker-on-ubuntu-20-04

